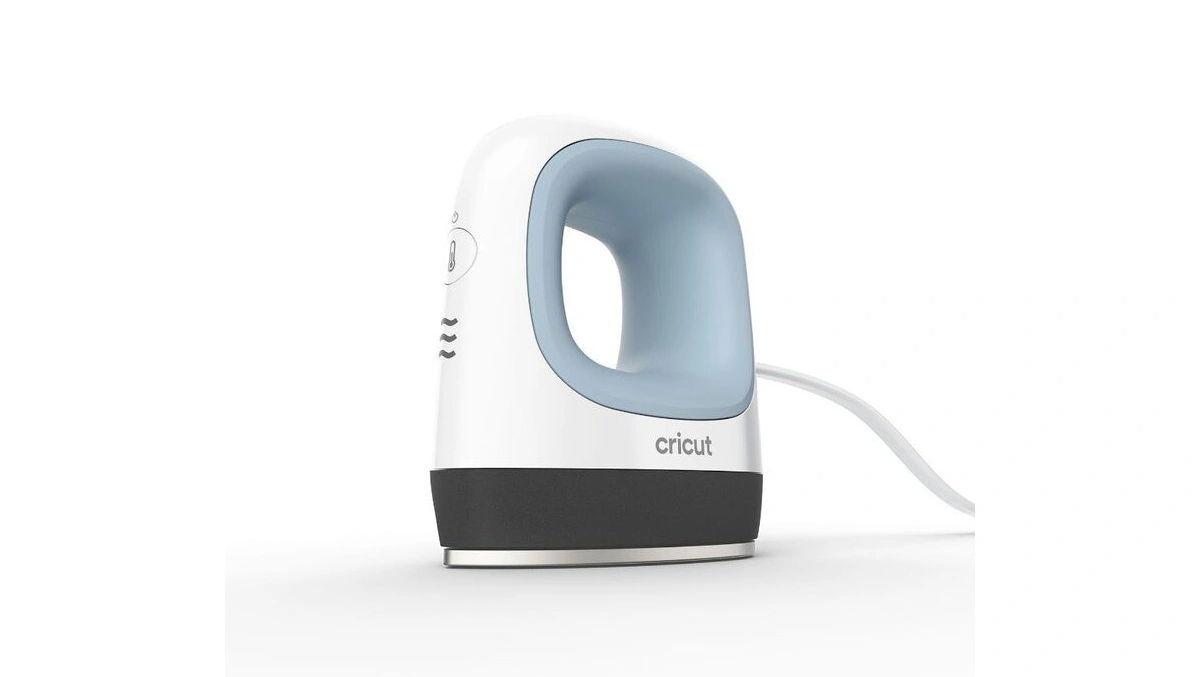
When I was offered the opportunity to review the Cricut EasyPress Mini, I gleefully got out my Cricut Maker 3, grabbed some t-shirts, and began dreaming up some cool ideas. The Easypress Mini is a small press which is designed for use in small places such as shirt sleeves or pockets. Cricut's FAQ page says, "Cricut EasyPress Mini is ideal for unusual objects like shoes and stuffed animals, and tight, hard-to-reach places like pockets and sleeves. The precision tip is great for working around seams, buttons, and zippers. Cricut EasyPress Mini is an ideal companion for other Cricut EasyPress models." However, a little digging around showed me that people can and do use it for larger projects such as t-shirt designs. Cricut kindly provided me with a few rolls of the right materials, and my imagination went to work.
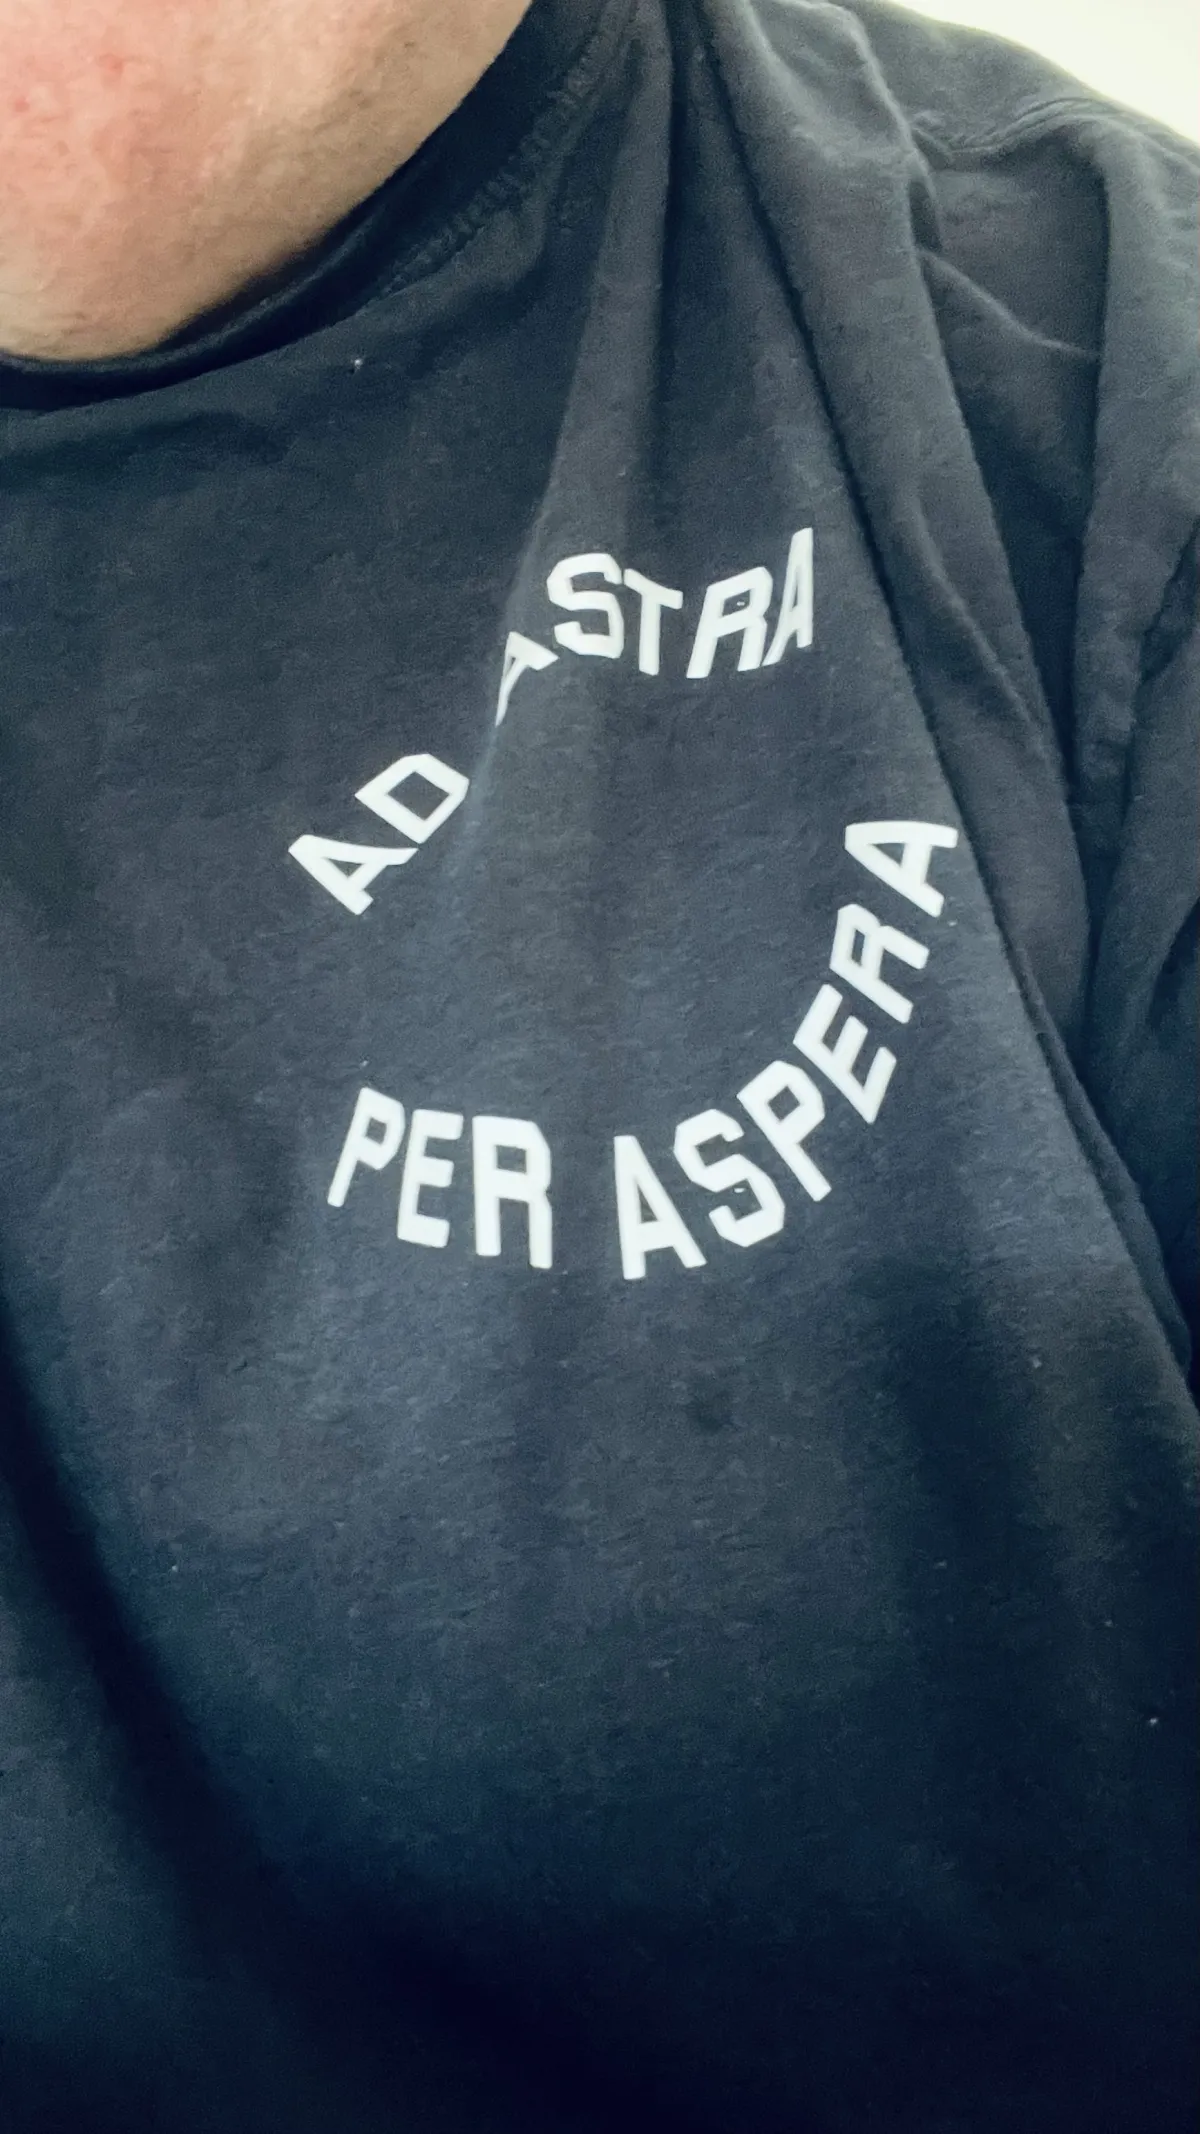
If you are like me and lack visually creative genius, I recommend perusing the online resources available to Cricut users. My aim is to create a fun logo that reflects my love of anything Star Trek. I'm quite fond of Brad Boimler's motto, "Ad Astra Per Aspera," which popped up in a crossover episode of "Strange New Worlds." I decided it would create quite a conversation piece out of a plain t-shirt. It's a fitting motto, referring back to JFK's speech on why we chose to go to the moon in that decade, "not because it is easy because it is hard." That is much what Boimler's poster says except in Latin with a gaze fixed light-years beyond the moon.
Cricut provides plenty of walk-throughs via You-Tube, walking novices like me through each step. I am learning is to pay attention to the size of my objects. I may be XXXXXL but discovered how quickly one can run out of t-shirt acreage if you don't watch the size of the objects you create in Cricut's Design Space. This software is a free download, but I opted for a paid monthly subscription, which provides access to countless objects, shapes and artwork. If you're not a designer, you will find plenty of inspiring ideas.
Once you are ready to make your iron-on transfer, press "Make," insert the iron-on sheet and follow the instructions. Remember to put the shiny side facing down and to select "Mirror" in the dialogue box. You don't need a cutting mat for this product, so it's just a matter of feeding it in and following the prompts. Even though your text will need to print backwards, you create it normally, applying the "Mirror" setting when you're ready to print.
Once your project is ready, grab your weeding tools, peel off the backing, and you will be ready to use the EasyPress Mini.
The EasyPress mini is just one of a range of presses offered by Cricut, and it proved ideal for my t-shirt project. Once you're plugged in, simply press the button and let it heat up. Cricut's website provides a handy Heat Guide section, which will provide you with the correct setting for the materials you're using. I used the number 2 setting for a cotton t-shirt and the Iron-on transfer sheet. My research gave me with this handy hint. Place your T Shirt on the heat mat and warm up the section where you intend applying your design. This gets rid of any moisture and will ensure a clean "take" when you use the press. One of the "How-To" videos I watched warned me not to let my fumble-fingers accidentally turn off the EasyPress Mini when applying my transfer.
You will see from my t-shirt design that I opted to use only text. I'm already at work on an updated design with a logo to go into the middle. However, as a novice, I found that my design "ran off" the image, even when sizing all the objects correctly. I am opting for use a contrasting glitter colour for the image to make my t-shirt really pop.
My review model features the Zen Blue colour and it's also comes in Raspberry. I have had hours and hours of fun already, and my imagination is already dreaming up future projects. That of course is what Cricut is all about. It will prove an indispensable tool for hobbyists of all skill levels.


