How to setup a home network - Part One
Fri, 1st Jul 2011So you have a few computers and other accessories around the house (such as printers and mobile computing devices, data storage, scanners, etc) and you've decided it's about time you set up a home network. A home network allows you to share these resources across computers, saving you money in the long run. There's just one problem - you have no clue how to go about doing it! You're not alone, and now you're no longer in the dark either. In the next few issues of NetGuide, we guide you through the process step by step so that you can have your network up and running in no time.
STEP 1: CHOOSING THE RIGHT NETWORK TECHNOLOGY
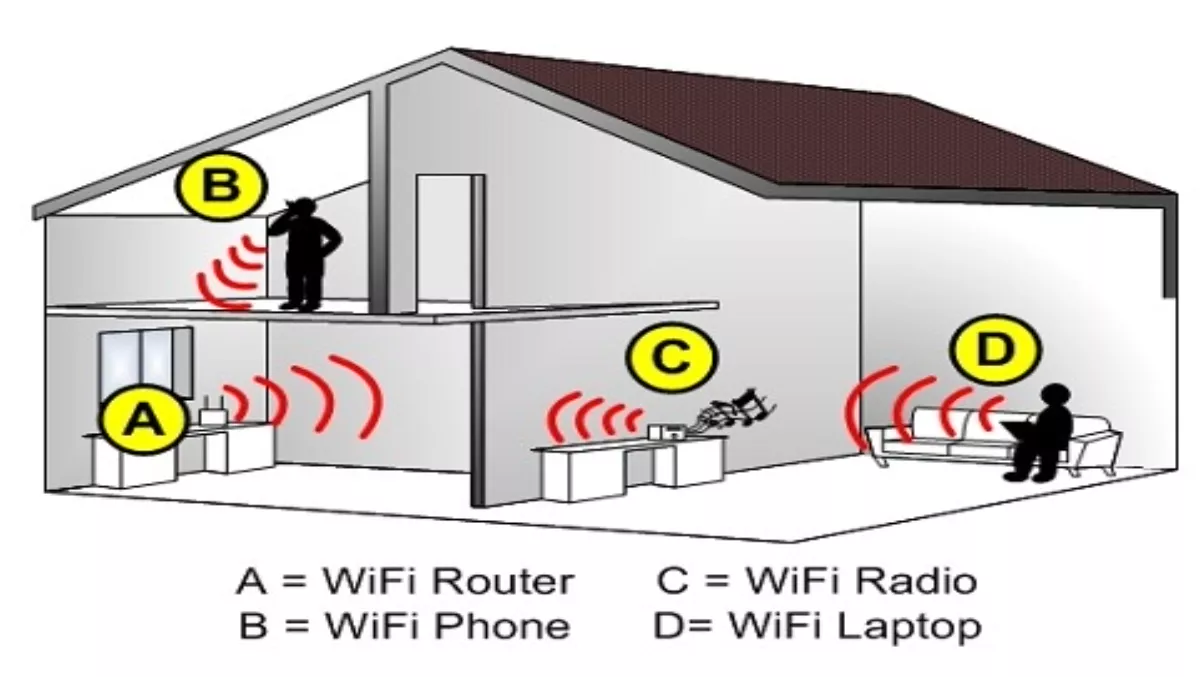
First things first - before you decide what hardware to get, you should decide what type of network technology is right for you. The most common types are wireless, Ethernet or home phone line (HomePNA). When choosing between these options, it is important to consider the location of your computers and the desired speed of your network. You should also consider why you want to implement a home network and what you will be using it for. For example, if you're networking for HD media streaming then wired is probably the way to go (unless you're willing to fork out the extra money for a wireless N router and the appropriate adapters). If you're using it for simple file transfer/access and web browsing, then wireless is totally fine.
Wireless is great in the sense that it's easy to move your computers around, since there are no pesky cables. They are also easier to install than some of the other technologies. However, wireless can sometimes be slower than the alternatives and can be affected by interference from things such as walls or pipes. It is also known to run into more security problems (which is why you should tune into the next issue of NetGuide to learn how to protect your wireless network!)
Ethernet networks are typically inexpensive and fast, however, you do have to run Ethernet cables between each device and to a main hub, switch or router. You should keep this in mind if you intend on connecting devices in different rooms of the house.
HomePNA uses the same wiring as your home telephone and you don't need any hubs or switches. Its downfall is that you need a phone jack in each room where you have a computer, and all jacks must be on the same phone line.
STEP 2: SETTING UP
The first thing you need to do is install network adapters in any computers that need them. Follow the installation instructions in the information that came with each adapter to do this. Next, you will need to set up an internet connection if you want to use your network to share internet between computers (which most people do). To do this, organise an account with an internet service provider and then use a cable or DSL modem to connect online.
You will then need to connect all of the computers and devices you want included in your network. The setup for this can depend on the type of network technology you have chosen (described in step 1).For a wireless network, run the "set up a wireless router or access point” wizard on the computer attached to the router. You can find this in the Control Panel under "Network and Internet”, and then "Network and Sharing Centre”. Click on "Set up a connection or network” and then "Set up a wireless router or access point” and follow the steps.
For Ethernet networks, use a hub, switch or router to connect the devices using the Ethernet cable. For sharing the internet, a router is required. This will need to be connected to the main computer (the computer that is connected to the modem).
For HPNA networks, make sure you have an HPNA network adapter in each computer and a phone jack in each room where there is a computer, then plug the computers into the phone jacks and you should be automatically connected.
STEP 3: TEST YOUR NETWORK
To make sure that everything is up and running as it should be, you can test your new network by clicking on "Network” under the Start menu on each of the computers involved. You should see the icon for the computer you are on, as well as those of the other computers and devices in the network.
Read part two here.